Create
With GeoExplorer you can create new features in layers published through a local instance of GeoServer. You can define the spatial information (location) for the feature, as well as the attribute information.
Note
GeoServer authentication is required to create features through GeoExplorer. For more information, please refer to the Login section.
Warning
Creating features happens directly on the data source published in GeoServer (via WFS-T), so any changes will be available immediately after they have been saved.
To create a new feature, select the layer you want to add features to, click Edit on the GeoExplorer toolbar and then click Create.
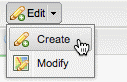
Create new feature tool
Click a location of the Map Window where a feature should be placed.

Initial point for new feature
If you are creating a new point feature, one click will create the new point. If you are creating a line or polygon feature, trace the outline of the line or polygon feature by clicking other locations in the Map Window. You can also hold down Shift and the left mouse button while dragging the mouse to create (approximate) curved lines.
Double-click at the final location to complete the feature input. A dialog box will open to capture attribute information for the new feature.
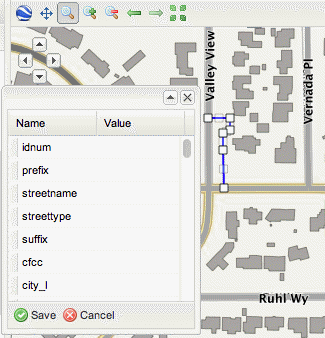
New line feature
Enter the attribute values for the new feature and click Save. To delete the newly-created feature, click Cancel.
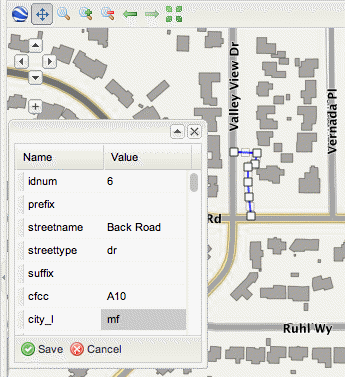
Providing attributes for new feature
Note
No information will be passed to GeoServer until the changes are saved.
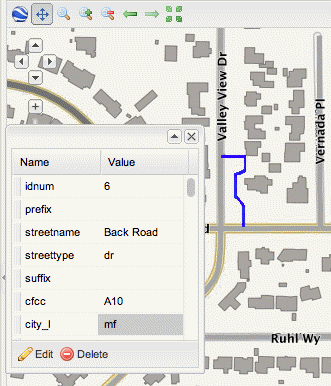
New feature successfully created
As soon as the changes are saved, the feature becomes part of the selected layer and will be displayed according the layer’s current style settings.