Upgrading to OpenGeo Suite Enterprise
This section describes how to upgrade OpenGeo Suite to OpenGeo Suite Enterprise on Mac OS X.
Note
OpenGeo Suite Enterprise can only be obtained through Boundless. Please contact us for information on how to purchase OpenGeo Suite Enterprise.
System Requirements
OpenGeo Suite has the following system requirements:
- Operating System: 10.9 or newer
- Memory: 1GB minimum (2GB recommended)
- Disk space: 1GB minimum (plus extra space for any loaded data)
- Browser: Any modern web browser is supported
- Permissions: Administrative rights
Upgrade process
To upgrade, you must first back up your data:
- Back up your GeoServer data directory by copying it to a safe location. You can find your data directory by running GeoServer and selecting Open GeoServer Data Directory from the GeoServer icon in the OS X menu bar.
- Back up your PostGIS database to a safe location by following the instructions in the PostgreSQL backup and restore section of the User Manual.
After backing up your data, uninstall your current version of OpenGeo Suite.
The Mac OS X installer for OpenGeo Suite is a disk image made up several components that are installed separately.
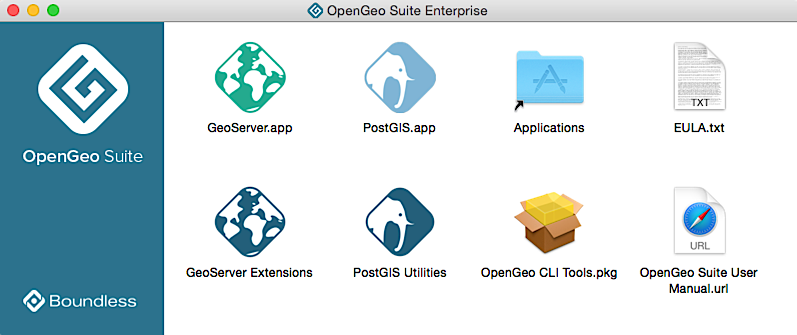
OpenGeo Suite for Mac OS X
PostGIS.app
Note
While it is possible to run the PostGIS application directly from the installer disk image, we recommend you drag it to /Applications and run from there.
PostGIS ships as a self-contained application. Start by double-clicking PostGIS.app. You will see a “Welcome” window the first time the application is launched.
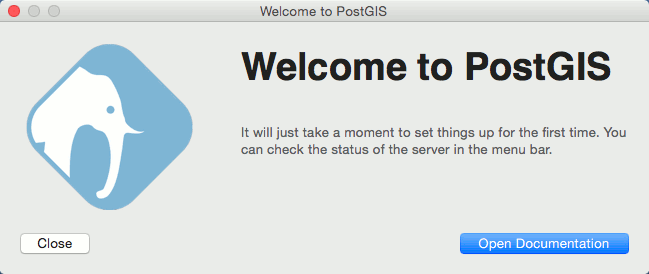
PostGIS Welcome dialog
Note
If you get the message “PostGIS can’t be opened because it is from an unidentified developer”
- Open System Preferences
- Select Security & Privacy
- Under Allow apps downloaded from: select Anywhere
You can check the PostgreSQL server status and perform other tasks from the PostGIS icon in the OS X menu bar.
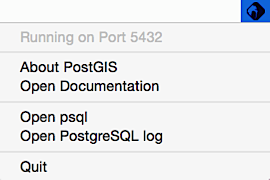
PostGIS menu
GeoServer.app
Note
While it is possible to run the GeoServer application directly from the installer disk image, we recommend you drag it to /Applications and run from there.
GeoServer also ships as a self-contained application. Start by double-clicking GeoServer.app. You will see a “Welcome” window the first time the application is launched.
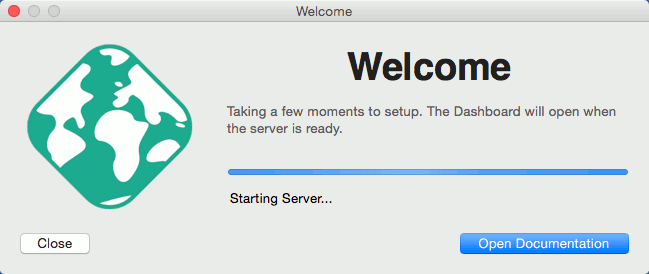
GeoServer Welcome dialog
Note
If you get the message “GeoServer can’t be opened because it is from an unidentified developer”
- Open System Preferences
- Select Security & Privacy
- Under Allow apps downloaded from: select Anywhere
Note
The GeoServer application runs a Jetty web server that also contains GeoWebCache, GeoExplorer, and the OpenGeo Dashboard.
You can check the server status and perform other tasks from the GeoServer icon in the OS X menu bar.
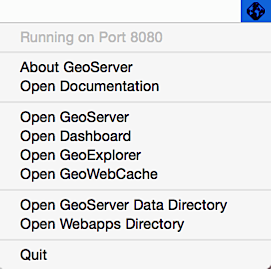
GeoServer menu
Once the server has fully started up a web browser will open and display the OpenGeo dashboard.
PostGIS Utilities
Note
As with all other applications of OpenGeo Suite, we recommended you drag any tools to /Applications and run from there.
The PostGIS Utilities package contains utility applications for working with PostGIS and PostgreSQL:
- pgAdmin - A database manager for PostgreSQL
- pgShapeLoader - A graphical Shapefile loader/dumper
Double-click to run the applications.
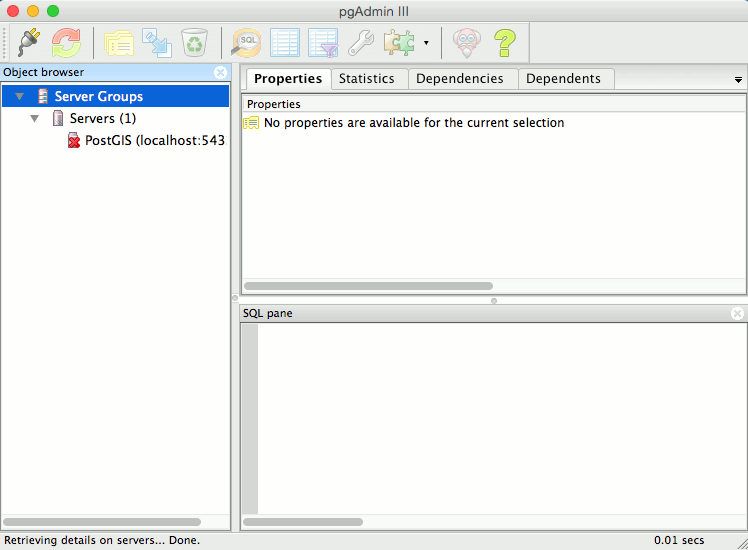
pgAdmin PostgreSQL Manager
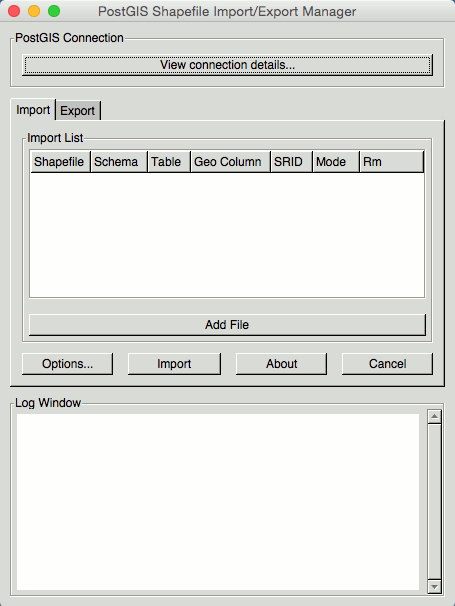
PostGIS Shapefile Loader
GeoServer extensions
Extensions to GeoServer are available in a folder called GeoServer Extensions.
Double-click to open this folder and you will see individual folders for each extension.
To install an extension:
Select Open Webapps Directory from the GeoServer menu.
Note
GeoServer must be running to see this menu.
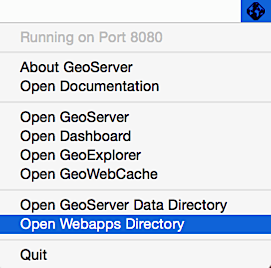
Opening the webapps directory from the GeoServer menu
In the Finder window that appears, navigate to
geoserver/WEB-INF/lib.For a given extension, copy the contents of that folder (not the folder itself) into
geoserver/WEB-INF/lib.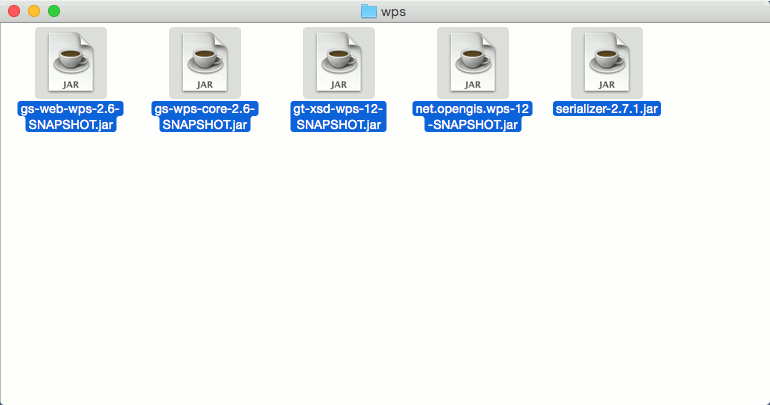
Selecting the files for the WPS extension...
Note
You can use the labeling or tagging feature of the Finder to color or tag extensions, respective to each type of extension, before copying them to
geoserver/WEB-INF/lib. This allows you to quickly find them later if you wish to remove them from GeoServer.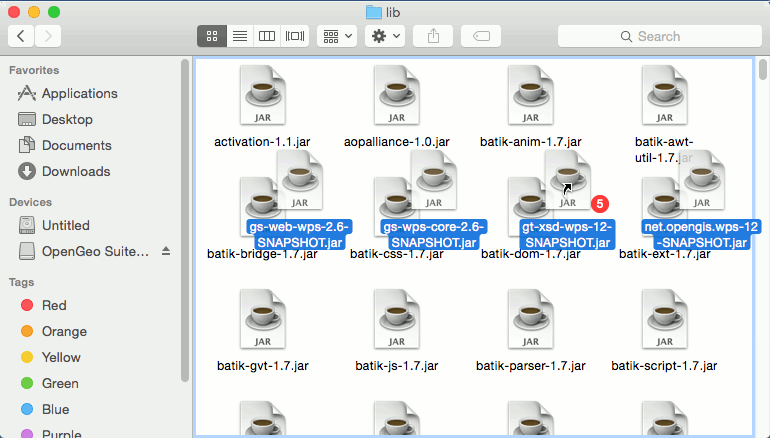
...and copying the files to
geoserver/WEB-INF/libQuit and re-open GeoServer.
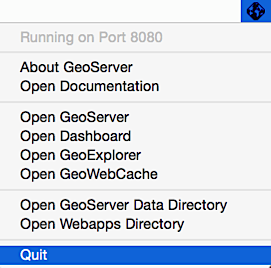
Quitting GeoServer
Note
Read more about GeoServer extensions.
CLI tools
The CLI tools package contains all the command line tools for OpenGeo Suite:
- Boundless SDK
- PostGIS data conversion utilities such as
shp2pgsql - GDAL/OGR format translation utilities (including Python modules)
- PDAL tools for working with LIDAR point cloud data
Note
Boundless SDK requires that a Java Development Kit (JDK) is installed on your system in order to run.
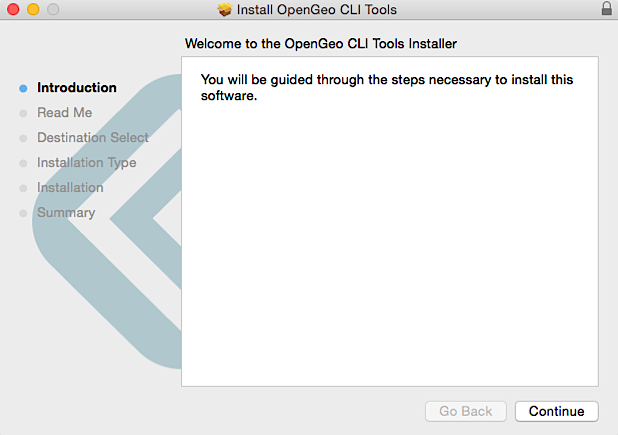
To install the CLI Tools:
Double-click the OpenGeo CLI Tools.pkg file.
OpenGeo Suite Command Line Tools Installer
Work through the installer dialogs accepting the defaults.
The CLI Tools package installs everything into
/usr/local/opengeo. This directory must be added to thePATH. Add the following line to your~/.profile:export PATH=/usr/local/opengeo/bin:$PATH
Note
Alternatively you can run the
/usr/local/opengeo/bin/opengeo-clitools-doctorutility which will create symlinks for all the tools into/usr/local/bin. Use this method with caution as it may conflict with different versions of the same tools already installed on the system.Adding the CLI Tools Python modules to PYTHONPATH
The GDAL/OGR and other Python module utilities will be installed in
/usr/local/opengeo/lib/python2.7/site-packages. To add this to yourPYTHONPATHyou will need to open~/.profilein a text editor and add the following to the bottom of the file:export PYTHONPATH=/usr/local/opengeo/lib/python2.7/site-packages:$PYTHONPATH
Warning
If you have the QGIS community version installed, and the
/Libraries/Frameworks/GDAL.frameworkexists, you will need to removegdal-py2.7.pthandnumpy-override.pthfrom/Library/Python/2.7/site-packagesas they manipulatesys.pathand will always be found first.
After upgrade
The upgrade is now complete. Please see the section on After installation: Working with OpenGeo Suite for Mac OS X to continue.