Updating a minor version
This section describes how to perform a minor update from OpenGeo Suite 4.x to 4.8 on Windows.
Note
- For new installations, please see the section on Installing.
- For upgrading to OpenGeo Suite Enterprise, please see the section on Upgrading to OpenGeo Suite Enterprise.
- For updating from a previous major version of OpenGeo Suite (3.x), please see the Updating a major version section.
System requirements
The following Windows versions are supported:
- Windows Vista
- Windows 7
- Windows 8
- Windows 10
- Windows Server 2008
- Windows Server 2012
OpenGeo Suite has the following system requirements:
- Memory: 1GB minimum (2GB recommended)
- Disk space: 1.2GB minimum (plus extra space for data)
- Browser: Internet Explorer, Firefox, Chrome
- Permissions: Administrative rights
- Software: .NET Framework 4.5 (Download)
Installation
Warning
OpenGeo Suite for Windows requires .NET Framework 4. Installation will fail if not present.
Shutdown all OpenGeo Suite services by navigating to and using the Stop shortcuts.
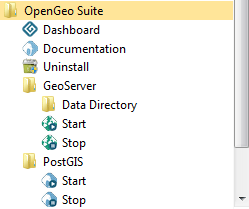
Starting and stopping OpenGeo Suite services
Alternately, services can be stopped from the Windows Services dialog, and stopping both the OpenGeo Jetty and OpenGeo PostgreSQL services. Services can be found at from the Windows Control Panel.
Double-click the
OpenGeoSuite.exefile.At the Welcome screen, click Next.
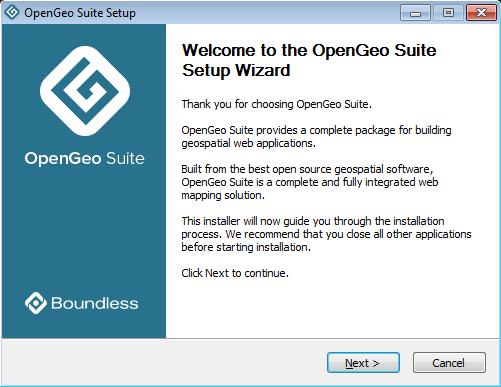
Welcome screen
The installer will recognize that an existing version of OpenGeo Suite on the system, and will warn you about the update.
Note
For upgrading to OpenGeo Suite Enterprise, please see the section on Upgrading to OpenGeo Suite Enterprise.
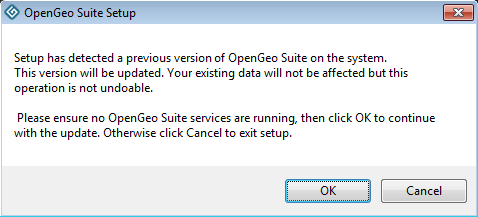
Setup recognizing an existing OpenGeo Suite instance
Read the License Agreement then click I Agree.
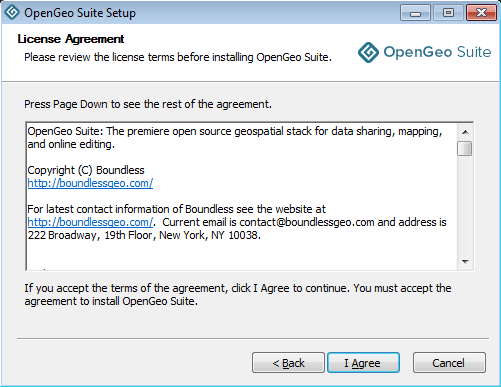
License agreement
Select the Destination folder where you would like to install OpenGeo Suite, and click Next.
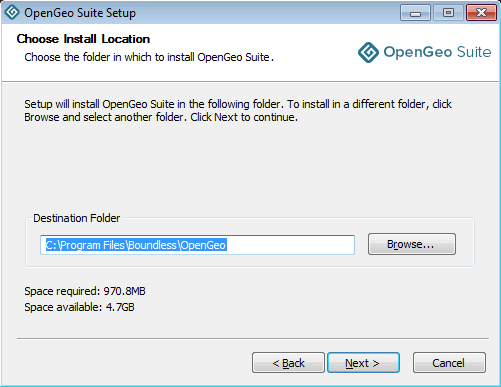
Destination folder for the installation
Select the name and location of the Start Menu folder to be created, and click Next.
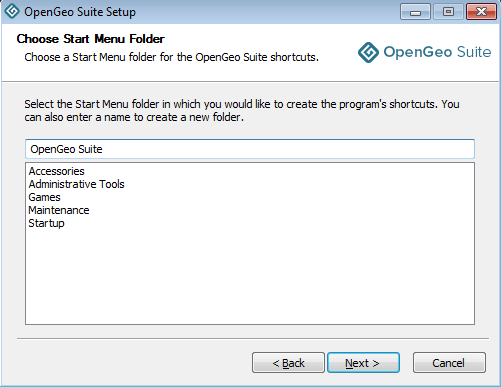
Start Menu folder to be created
Select the components you wish to install, and click Next.
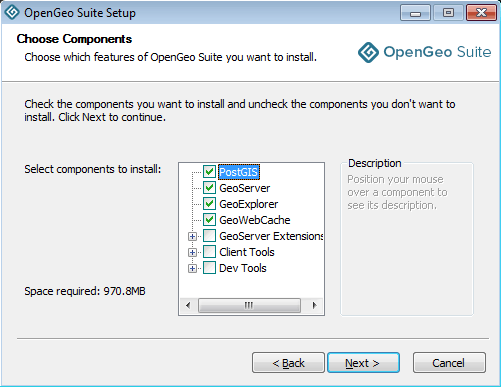
Component selection
Note
See Components for more details on available components.
Click Install to perform the installation.
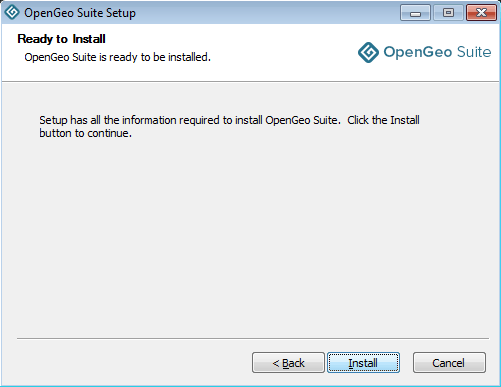
Ready to install
Please wait while the installation proceeds.

Installation
After installation, click Finish.
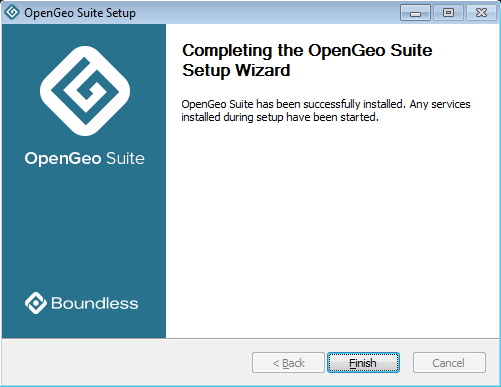
OpenGeo Suite successfully installed
After update
The update is now complete. Please see the section on After installation: Working with OpenGeo Suite for Windows to continue.