Mapping Paris bakeries
This example shows how to create a web app using a storytelling approach. In this case, we will create a wep app to explore a selection of the best bakeries in Paris.
Data
Download the data for this tutorial.
This archive contains a single point shapefile, consisting of the locations of bakeries in Paris.
Preparing the application in QGIS
First, we have to set up our data layers in QGIS. The tutorial data contains a QGIS project. Open it and you will see that it has a single layer.
If you open the attributes table for this layer, you will see that the layer has several fields with information about each bakery, and a field named Text with a HTML-formatted text which includes that information. We will be using this field for showing the description of each bakery.
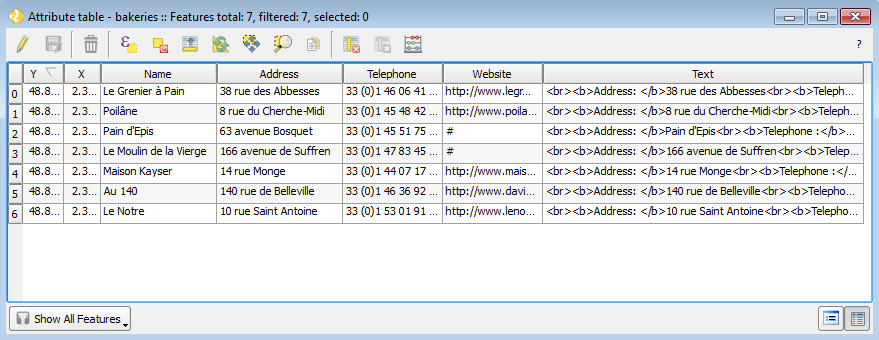
Attribute table
Configuring the application
Start the Web App Builder by selecting . This will bring up the interface used to configure our web app. There are several tabs, each one used to define a particular set of parameters. We will go through each of them and describe their meaning.
In the Description tab, fill out the form with the following:
- Enter
Paris bakeriesin the title box. - Select the fullscreen theme.
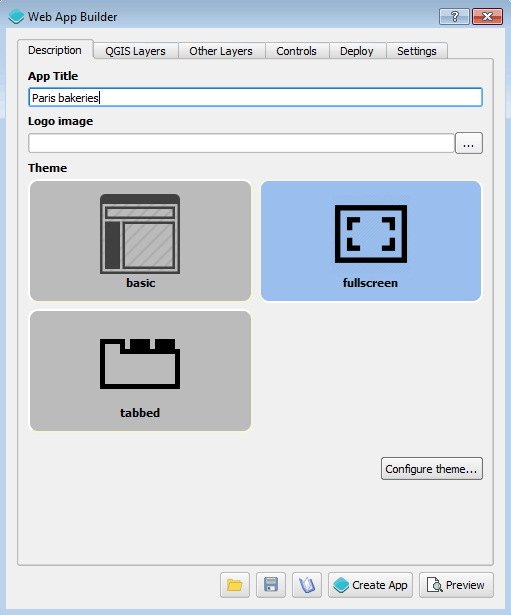
Description tab
- Enter
In the QGIS Layers tab, fill out the form with the following:
- Make sure the bakeries layer is checked.
- Uncheck the Allow selection on this layer check box, since we do not want to let the user interact with the layer.

QGIS Layers tab
In the Other Layers tab, select the OSM Mapnik layer.
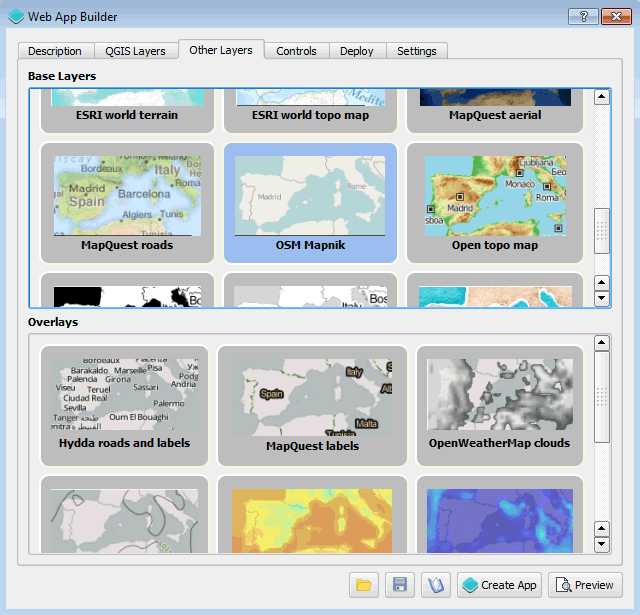
Other Layers tab
In the Controls tab:
- disable all selected controls and select the Bookmarks tool.
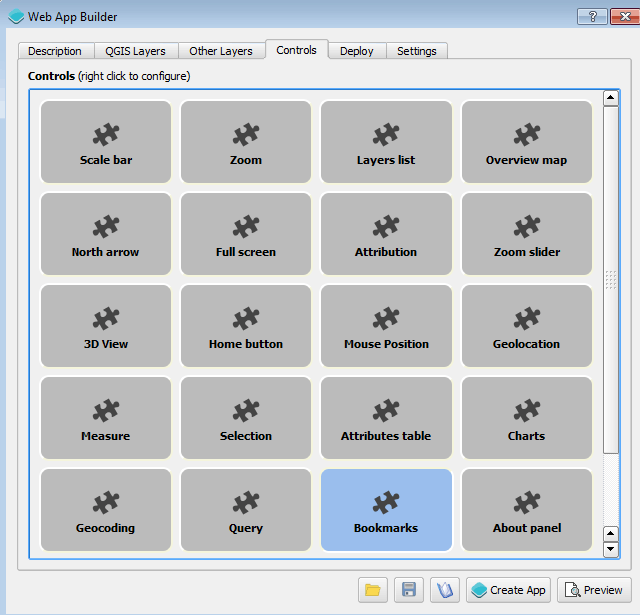
Controls tab
Right-click the Bookmarks tool and select Configure. This will be the central part of our web app, since the main storytelling functionality will be based on it.
You will see the following dialog:
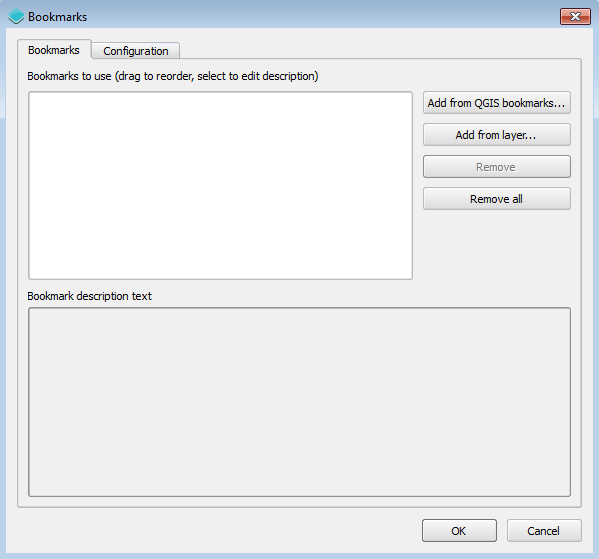
Bookmarks dialog
Bookmarks can be taken from a collection of QGIS bookmarks or from a layer. In this case, we will take bookmarks from a layer, generating one bookmark for each bakery location. Click the Add from layer button.
In the Layer field, select bakeries. In the Name field, select Name. In the Description field, selection Text. The content of these two fields will be used to create the content of the panel that will describe each of the bookmarks. The name will be shown as a header title, and the description text will be shown below in a normal paragraph.
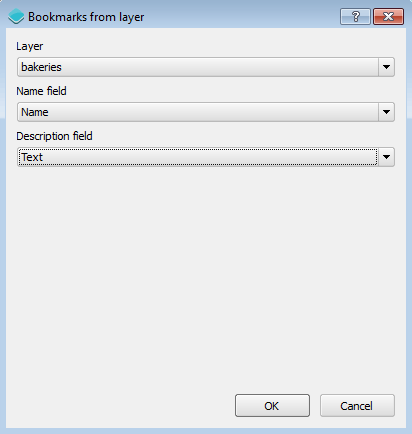
Creating bookmarks from layer
Click OK. The bookmarks will be added to the list of defined bookmarks for the web app.
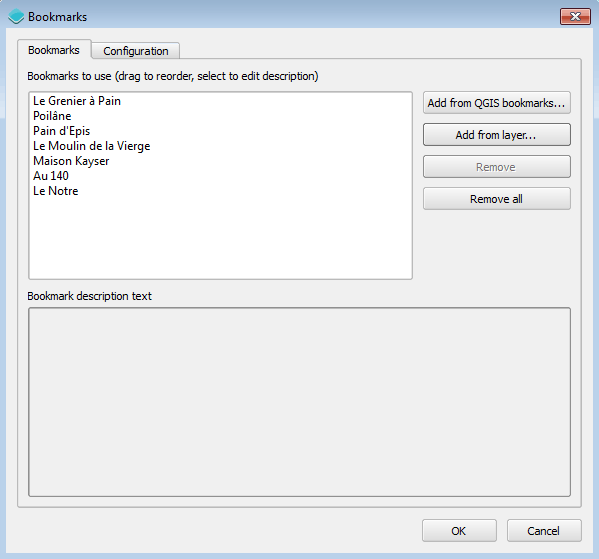
Bookmarks added
If you select any of the bookmarks in the list, you will see its description text in the lower panel.
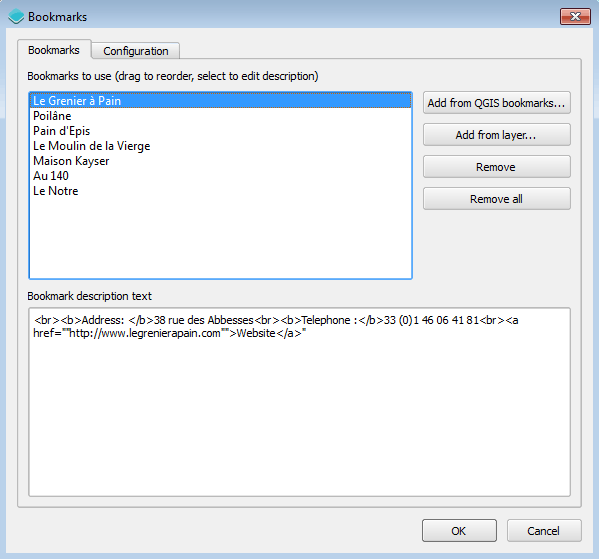
Viewing the contents of a bookmark
Click the Configuration tab.
Check the Show in story panel box, as we want to display bookmark descriptions in a panel.
In the Intro title box, type
Paris Bakeries.In the Intro description box, type
Explore the best bakeries of the capital of France.. These will be used to create the content of the panel when the web app is started, before moving to the first bookmark.Change the Animation type to Pan to.
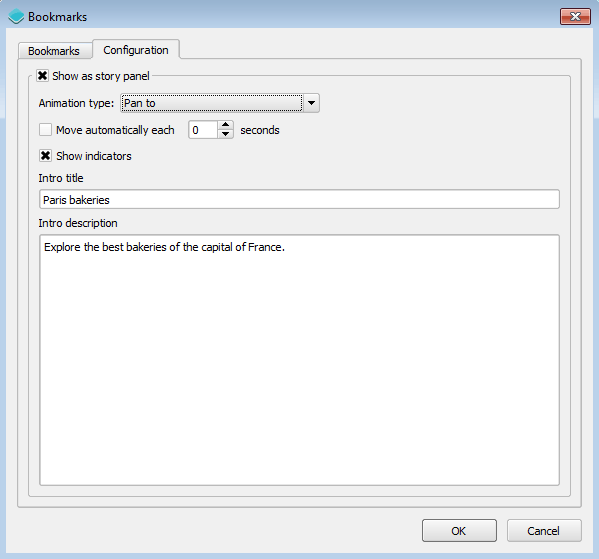
Bookmarks configuration
Click OK.
Note
There is no need to edit any of the parameters in either the Deploy or Settings tabs.
Creating the application
Save the application configuration by clicking the Save (disk) icon at the bottom of the dialog.
With the configuration defined, we can now create it by clicking the Create App button at the bottom of the Web App Builder dialog.
Select the directory where you want to store the web app.
The app will be created and saved in this directory. When finished, a dialog will display.
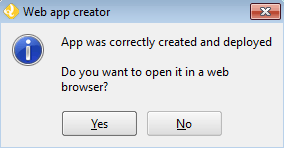
App successfully deployed
Click Yes to see the deployed app.
Improving the application
If not already open, launch the app by opening index.html file inside the directory where you created your web app.
The application is now created but when you move through the story points, you will notice that the zoom level effect is set too high. This is because the layer that used for creating the bookmarks is a point layer, so the extent covered by each bookmark is just the point itself, not a real bounding box. That causes the app to zoom to the maximum zoom level.
As a way to solve this, you can use a different layer for computing the extents of the bookmarks. We will generate one here.
Back in QGIS, close the Web App Builder and open the Processing toolbox ().
Find the Fixed distance buffer algorithm () and double-click it to open its parameters dialog.
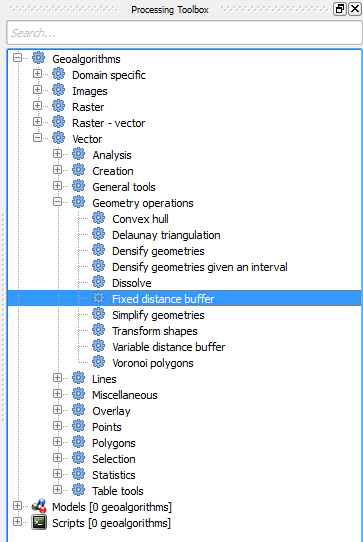
Fixed distance buffer process in the Processing toolbox
In the Input layer, make sure that bakeries is selected.
In the distance field, enter
0.005.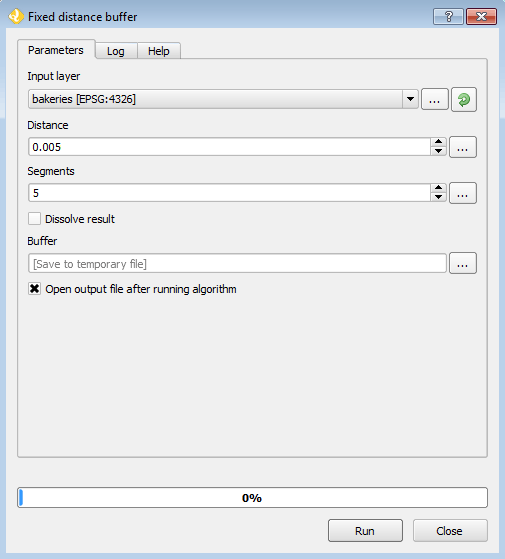
Fixed distance buffer parameters
Click Run to compute a buffer around each bakery point. The result will be displayed as a new layer in QGIS.
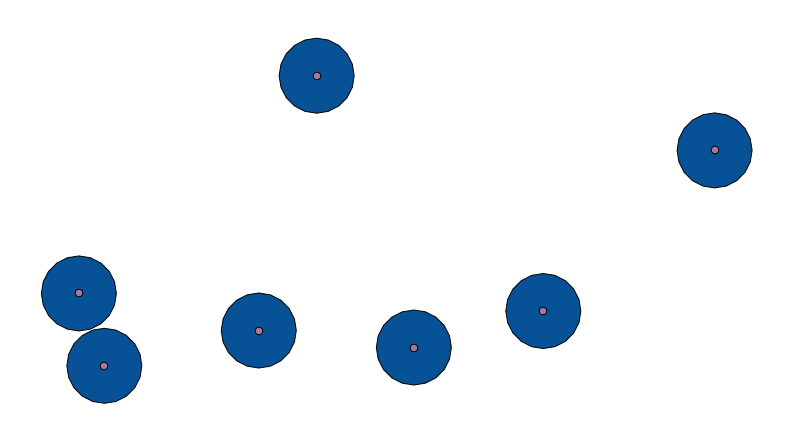
Buffer result
Now reopen the Web App Builder. Since you have already created a web app based on this same QGIS project, you will see the following message dialog:
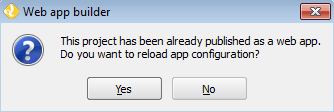
Recovering the application definition
Click Yes to recover the configuration parameters that you used when you first generated the web app.
Go to the Controls tab and configure the Bookmarks tool again.
Click Remove all to remove all existing bookmarks.
Recreate the bookmarks in the same way as before, except this time when creating bookmarks from a layer, use the Buffer layer instead of the bakeries layer. It will have the same attributes table as the original bakeries layer, so you can select the same fields for the Title and Description.
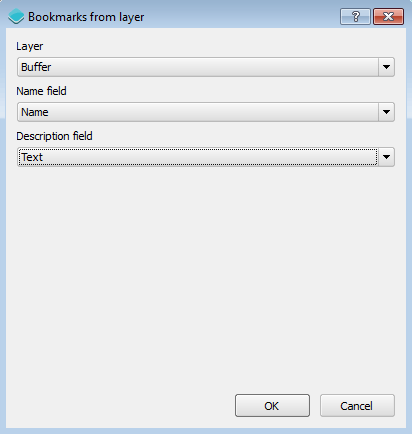
Bookmarks from Buffer layer
Click OK twice, then recreate the web app by clicking the Create app button.
Final result
Open the app and navigate through the story points. You will see that each point zooms to a more sensible area.