Mapping fire events
This tutorial shows how to create a dynamic web app that shows fire events occurred during a given period of time. It demonstrates the Timeline component and how to use it with layers containing time information
Data
Download the data for this tutorial.
This archive contains a QGIS project with a points shapefile and it corresponding styling.
Preparing the application in QGIS
Open the QGIS project in the zip file.
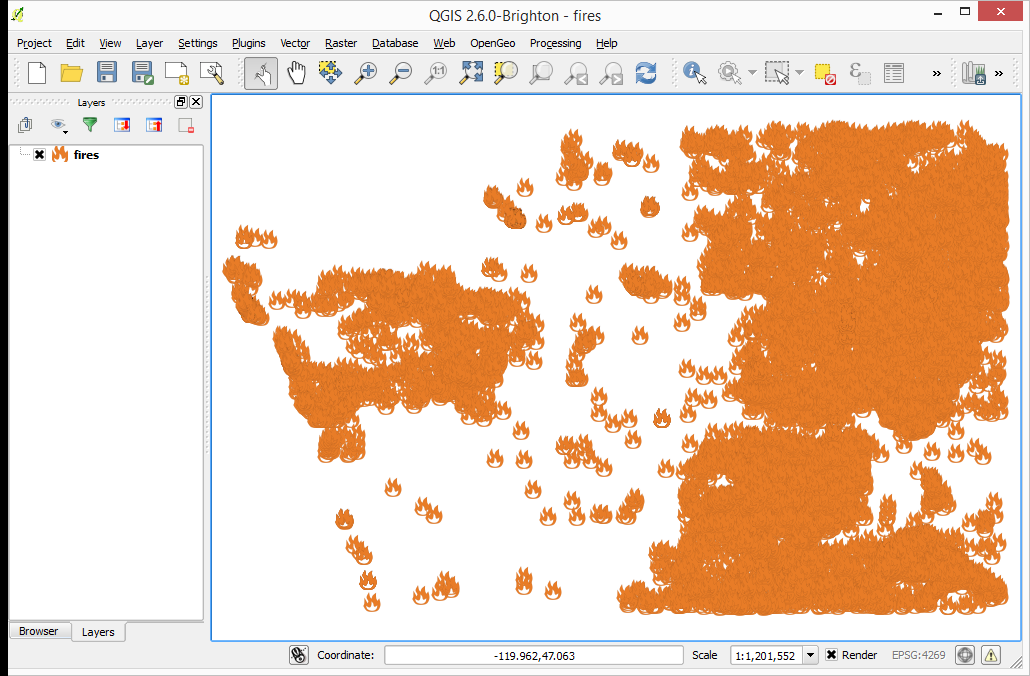
QGIS project with fire data
The project already has the data and symbology that we will use in the web app, so there is no need for further configuration.
Configuring the application
Start the Web App Builder by selecting . This will bring up the interface used to configure our web app. There are several tabs, each one used to define a particular set of parameters. We will go through each of them and describe their meaning.
In the Description tab, fill out the form with the following:
Enter
Mapping fire eventsin the title box.Select the basic theme.
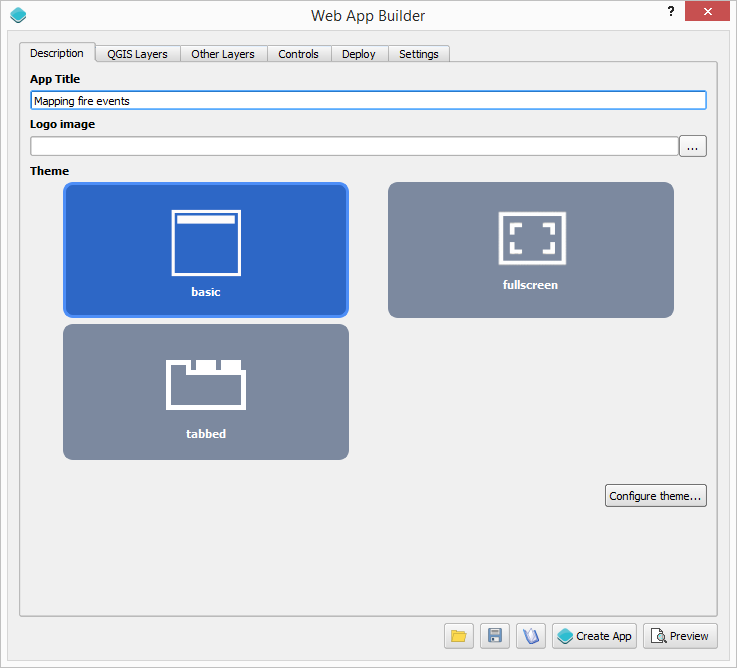
Description tab
In the QGIS Layers tab, fill out the form with the following:
- Make sure that the Fires layer is checked.
- Click the Edit link to edit the time info of the layer.
- Select the Feature time info is stored in layer attribute option.
- Select the STARTDATED field in the From date field dropdown list.
- Select the OUTDATED field in the To date field dropdown list.
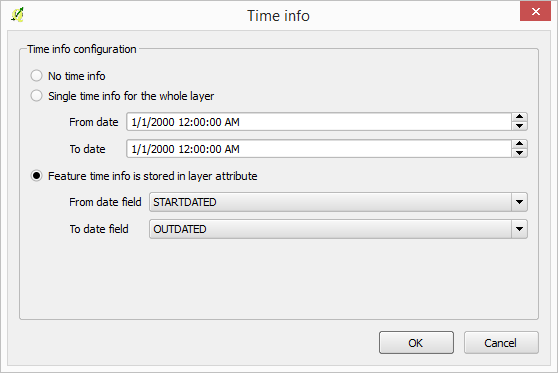
Layer time infor configuration
- Click OK.
In the Other Layers tab, select the CartoDB layer.
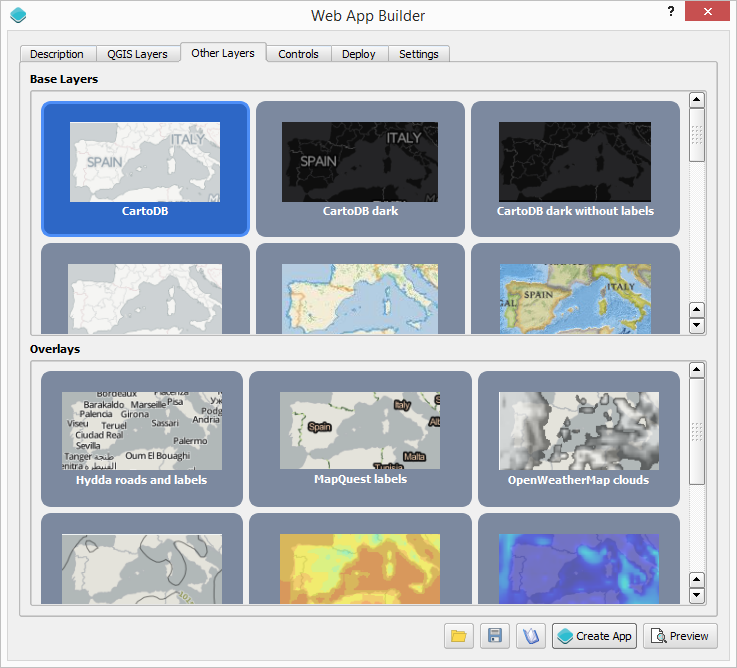
Other Layers tab
In the Controls tab, enable the Timeline component, and leave the three default controls enabled as well.
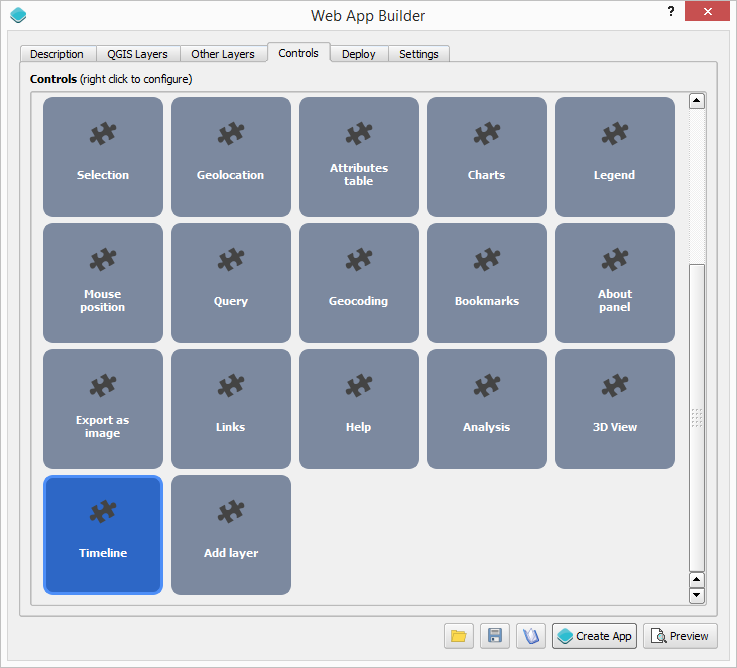
Controls tab
Leave the Settings and Deploy tabs as they are. There is no need to edit any of the parameters in them.
Creating the application
Save the application configuration by clicking the Save (disk) icon at the bottom of the dialog.
With the configuration defined, we can now create it by clicking the Create App button at the bottom of the Web App Builder dialog.
Select the directory where you want to store the web app.
The app will be created and saved in this directory. When finished, a dialog will display.
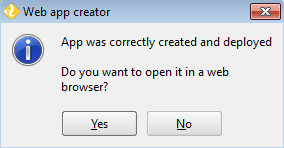
App successfully deployed
Click Yes to see the deployed app.
Final result
If not already open, launch the app by opening index.html file inside the directory where you created your web app.
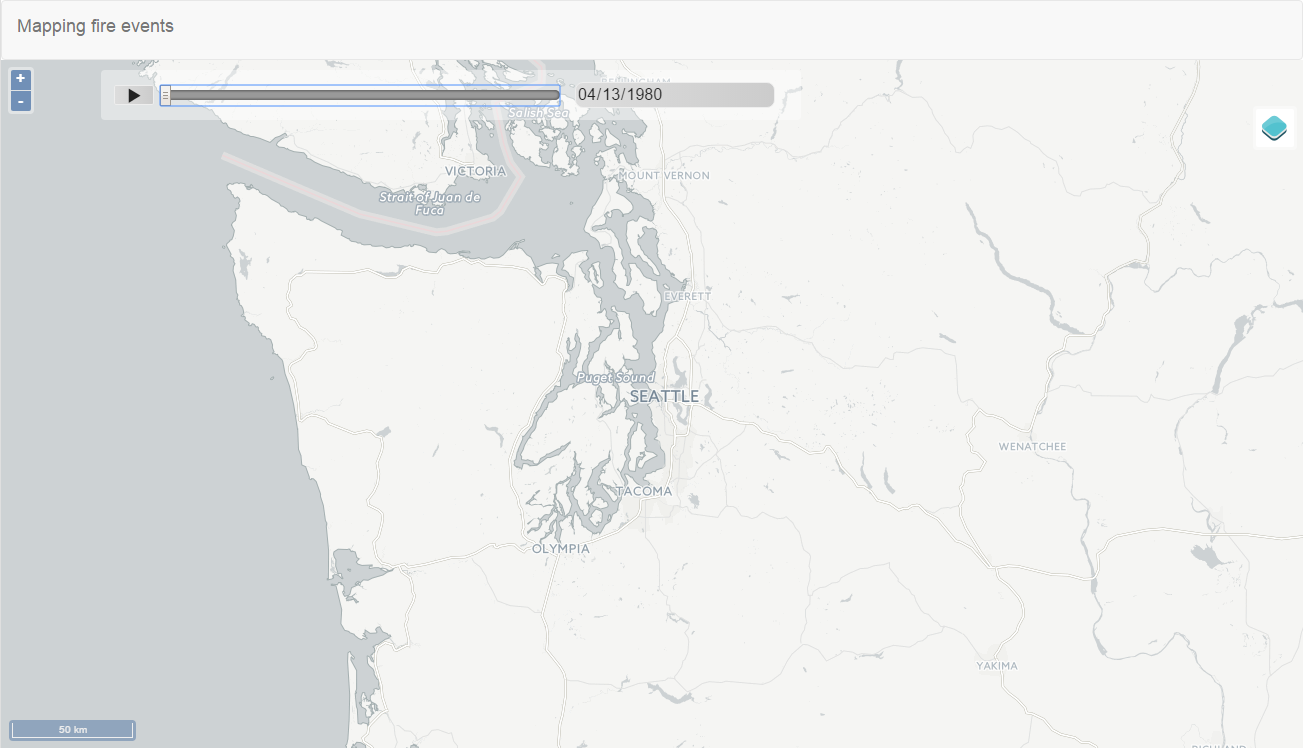
Deployed app
At the initial time setting, no fire marker are shown, since no fire is active for that time. Move the time slider to set a different time. Points that represent a fire active at the new time set in the time slider will be rendered.
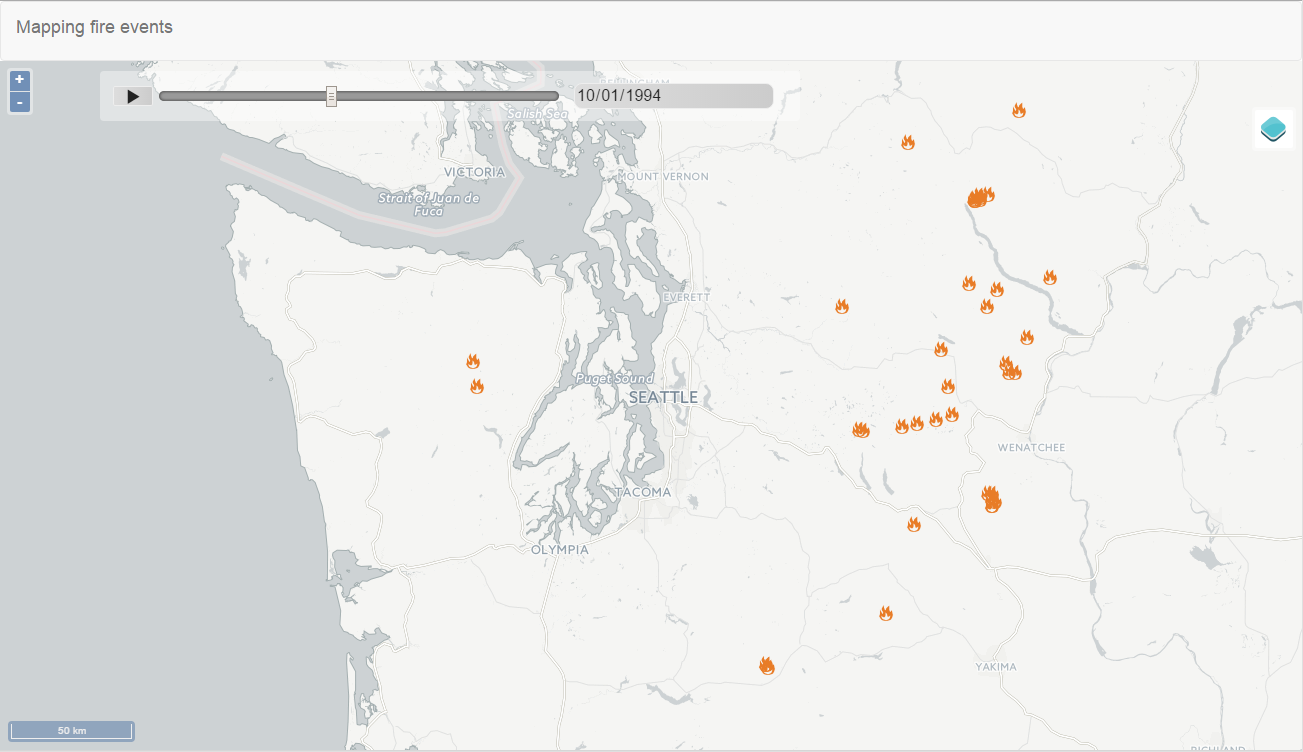
Deployed app showing fire markers
You can press the play button to active the autoplay mode. The time slider will advance automatically and the map will be updated accordingly.
Showing accumulated results
Using the STARTDATED and OUTDATED fields to define the valid time for each feature, only fires that are active will be rendered. Instead of that, it might be interesting to render all fires that have occurred up to the current date. Follow these steps to create a web app that behaves like that:
Open the attributes table of the fires layer.
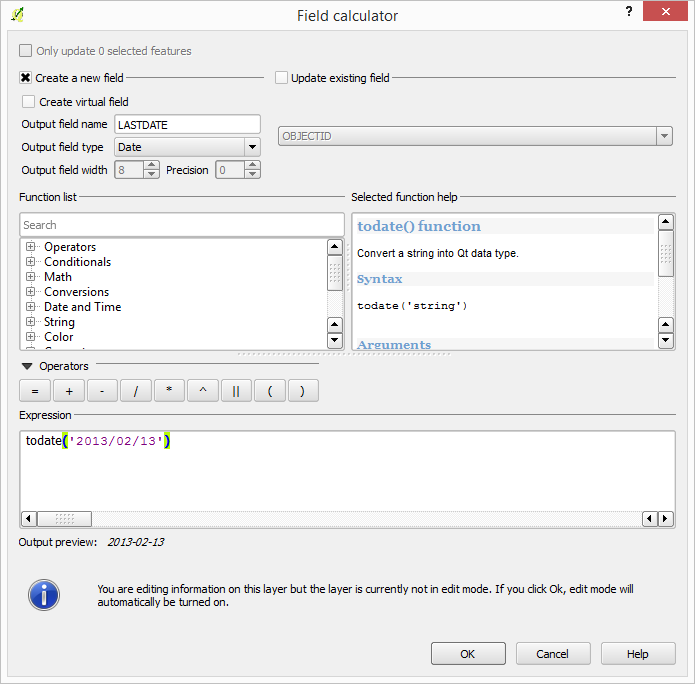
Open the field calculator
Fill the fields in the field calculator dialog as shown below.
Deployed app
This will create a new field in the attributes table of the layer, with al features containing the same date. That date corresponds to the latest date in the OUTDATED field.
Recreate the web app as explained before, but selecting the newly created LASTDATE field for the To date field option in the time info configuration dialog.
The resulting web app will now how all fires that occured before the selected date.