Adding a WMS GetFeatureInfo tool
This section describes how to add WMS Get Feature Info functionality to the viewer application.
Navigate to the src/app/app.js in the myviewer directory. Open up this file in a text editor. In the API documentation, find the gxp.plugins.WMSGetFeatureInfo tool. This provides the GetFeatureInfo functionality.
The ptype for gxp.plugins.WMSGetFeatureInfo is gxp_wmsgetfeatureinfo, so we will add an entry in the tools configuration of app.js:
{
    ptype: "gxp_wmsgetfeatureinfo"
}
As the next step we need to add the new tool to our build profile, so we add a line for plugins/WMSGetFeatureInfo.js to the list of dependencies at the top of our app.js file.
* @require plugins/WMSGetFeatureInfo.js
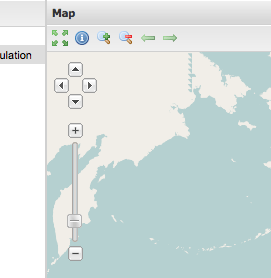
Now restart the application, and reload the application in your browser. You should now see an extra tool button in the map’s toolbar:
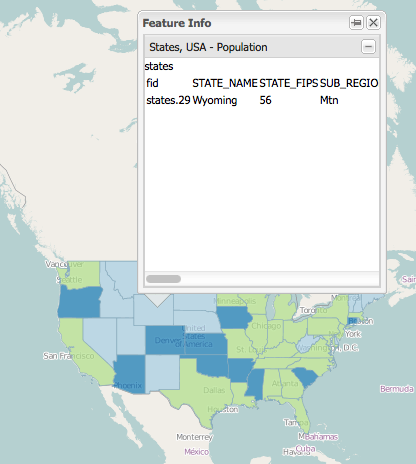
Click on this button to activate the tool, and click on a state. You should then get a pop-up displaying the information about that state using WMS GetFeatureInfo:
Let’s say you want to influence the way that the pop-up looks like, for example to increase its width. Open up the app.js again, and add a section called outputConfig to your tool configuration:
{
    ptype: "gxp_wmsgetfeatureinfo",
    outputConfig: {
        width: 400
    }
}
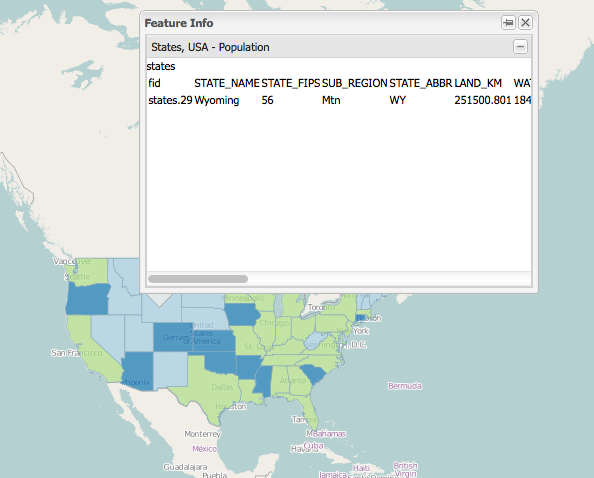
Reload the application in the browser, and check that the pop-up now has a width of 400 pixels:
If we want to influence the sequence of tools in the toolbar, e.g. having the WMS GetFeatureInfo tool as the second button, open up app.js, and configure an actionTarget with an index:
{
    ptype: "gxp_wmsgetfeatureinfo",
    outputConfig: {
        width: 400
    },
    actionTarget: {
        target: "map.tbar",
        index: 1
    }
 }
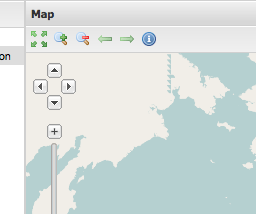
The button is now the second button in the toolbar: